Showing posts with label ceiling. Show all posts
Monday, February 9, 2015
Clean & Calm Bedroom
We have our bedroom back! The floor is refinished, the walls are repaired and painted, the ceiling is painted, the outlets have been replaced to code, windows painted, stained trim and base added, curtains re-hung.
New nightstands and a new bed-frame to follow, along with new door hardware and a new bedroom door. The original door was too damaged to paint and save, so it was just easier to pull the whole thing out and get it out of the way for the floor guys.
The room is calm and clean, and after about a month of sleeping in our basement and at our neighbors' house-- the bed feels huge! I think we both slept funny last night-- it was almost like we were sleeping in unfamiliar surroundings.
Here is what the room looked liked when we bought the house:
We had primed over the red walls pretty soon after moving in, but that's how it stayed for at least 2 years afterwards.
I just LOVE how the floors turned out. The color is so rich and all the detail in the wood grain shows so vibrantly.
Oh, and did I mention that our trim was FREE? K found a bunch of it at the side of the road somewhere, pulled out of a 1950s home. K said it was a pain in the butt to sand and re-stain, but once they were installed, we are both really happy with the results.
Labels:
bedroom,
ceiling,
February,
flooring,
free stuff,
paint,
renovation,
trim,
walls
Friday, January 16, 2015
Room Craziness
It's been a rough week. Whew. Poor K is wiped out... I can't keep up, either! We've been working on the walls and ceilings in our rooms with hardwood floors, in order to get those walls before the floor guys come in to do the refinishing on Monday.
So, patching, mudding, sanding, painting our plaster & lathe walls. Trying to repair years of damage and neglect. It's totally working-- the walls look 100 times better! It's just a LOT of work.
K used a sprayer to paint all our doors and windows, which were previously all a very industrial-looking tan (which we're SO sick of!) We figured this would be a big improvement until we replace the windows, and visually, it is definitely much better!
![]() |
| Newspaper & painter's tape = cheap stained glass |
![]() |
| Living room window, mid-taping |
![]() |
| Post-spraying |
She also sprayed all our vent covers, just so we didn't have to go out and buy all new ones right now, on top of all our other expenses. Some of them were painted weird, just like our trim, and some were just old-looking. Now, they may not all look perfect when you look closely, but they sure look better.
![]() |
![]() |
| Repairing progress in Baby's room |
Above, the baby's room now has a smooth painted ceiling, painted windows and doors, and wall repair is mostly complete. This room will have painted white trim around the windows and doors. The other rooms will have stained wood trim.
![]() |
And ohhhhh, the living room. I'm in love. Seriously... we've never had a usable living room, in all the time we've owned the house. For a few days, here and there, we've set up a sitting area when we needed to, but it was always on top of a big sisal rug, on top of the ram board from when we were working on the ceiling. And there was always wrapped-up bookshelves in the corner, and storage stuff against the wall. So, just never an actual "living room."
But it's already so pretty.
I'm so excited!
![]() |
| Living room, in progress |
Rough week, true, but it's so fantastic to see this progress and know we'll have actual finished rooms SOON!
Saturday, January 10, 2015
Starting On the Bedrooms & Main Bath
I had no idea when we'd start working on the rooms of the house, but it's suddenly happening!! K and her bro did a bunch of work on the house today-- pulling off the painted, wrecked-up trim and starting to scrape off the popcorn ceiling in the nursery.
... Did I just say nursery? That's right, I did!! K and I are expecting a baby, due at the end of June. We're over the moon about it. And so, the spare bedroom is now being prepared to be the baby's room, just as we hoped it would be someday.
![]() |
| Popcorn ceiling on its way out |
K had also spent a large part of her day in her office, so by the time the evening rolled around, she was itching to do some wrecking! Getting rid of those things in the house that she's so sick of.
So... she took a jackhammer to the bathroom on the first floor. She pulled off some of the tiles, and pulled down the storage above the bathtub.
We have wanted to improve this bathroom since we bought the house. I think that it may be original to the house...? Or maybe it's a 70s remodel? Not sure, but it's never been very functional for us. The worst is how filthy it was. After years of renters, we never could get it clean. The bathtub, though iron, is a typical size, so a tall gal like me can't take a bath in it without my whole torso or all my legs sticking out of the water. And with the storage above the shower, I'm too tall to take a shower in here! The storage up there also wasn't necessary because there's a spacious cedar-lined closet in the bathroom already.
Our goals for remodeling this bathroom are to put in a deeper bathtub, make the shower usable for a tall lady like me, replace the worn-out vanity and maybe even put in two sinks.
![]() |
| I did make sure to keep those chrome pulls on the cabinets! |
Again, I'm not sure if this bathroom is original or a remodel? Once K started taking down some of the storage and tile, we could see that the walls under the storage used to be painted yellow.
Sunday, February 16, 2014
Office Ceiling - Part 4
Took a couple pictures of the office ceiling because it is sunny today! It's so nice in here -- I have the ceiling light on, out of habit, but I hardly need to because the sunlight carries all through the room.
![]() |
| To the East... |
![]() |
| To the West... |
Lovely, sunny room!
Friday, January 17, 2014
Office Ceiling - Part 3
Since I didn't post these last weekend, here are my last "progress" pictures and the finished product.
First, here's the scary scaffolding contraption that K put up over the staircase... It was really stable, since it was resting on a wall, but it was scary to look down!
![]() |
| What a great girl I have! She's almost finished... |
And now.... the finished ceiling. I did take these pictures at night, so I'll need to take some during the day, too, because it looks totally different. The light really shines off of the paint and reflects all over.
![]() |
| To the East... |
![]() |
| And to the West... |
I'm really happy with it, and I'm so glad I did it. It's much easier to work on anything in this room, even in the dark evening winter hours. And during the day it's just beautiful.
Monday, January 13, 2014
Big, Big Weekend!!
A couple big things happened this weekend...
#1 - K got the ceiling above my stairs painted, with the scaffolding on a ladder, high above the stairs. So that means... my office ceiling is officially done!! Photos to follow, but I need to clean up the room first.
#2 - K and I got ENGAGED!!! We've been together for more than 6 years and have been discussing marriage for a while, but even more so once it became legal for us to marry in Minnesota! K wanted to do formal proposal, and boy, did she... Huge deal, public, friends and family involved, lots of secret planning, the whole deal. I was surprised and thrilled!
As excited as we are to legally tie the knot, we would really like to have our celebration in Wisconsin with our families. We have big families, and we are so incredibly blessed, because we have the support of almost every person in our families. And a party of that size is going to take some planning, so we will need some more time. And anyway, everyone is telling us to just enjoy being engaged for a while. So that's what I'm hoping to do!
![]() | |
| Here's my ring! Vintage, 1920s... |
Saturday, December 28, 2013
Painting My Office Ceiling - Part 2
Got quite a bit of progress done lately on painting my office ceiling... Which is good because I can't wait to get my office back-- it's a mess!
Here's one photo of the result. I'm really glad that I left the strips of trim unpainted. They tie in with the walls really nicely, I think.
Saturday, November 30, 2013
Painting My Office Ceiling - Part 1
Here's the thing with this office-- The wood in here is beautiful. Even with a thousand staples and nails in the walls and ceiling, it's still so pretty. The color is warm, golden, and I love how the sunlight looks in here. But the wood just sucks up any bit of light. The one ceiling fixture only illuminates the middle of the room, even though it has three bulbs. I have two other lamps and two other hanging lights elsewhere in the room, and when they're all on it's OK in here. But it's still difficult to do any art or sewing projects with the light that's here, and I want this room to be more functional.
I have gone back and forth a hundred times on whether or not to paint the ceiling in here. And if so, which parts? Just the middle, or the sides, too? Or leave it as it is-- pretty honey-colored paneling that matches the knotty pine walls... Once daylight-savings came this fall, I really got my answer. There is NEVER enough light in here. If I want there to be more light, I need to paint the ceiling. I won't touch the knotty pine walls, but I need some white on the ceiling to help the light reflect through the room better.
Since the test primer stuck really well, I got started on painting the ceiling today. It's late and I'm too tired to continue, and... I'm almost done. There are a couple areas that are tough to get to, because I didn't move my stuff far enough away. And the ceiling over the staircase is going to require some creative ladder-ing. K will get some ladders set up for me later so that I can do that part.
Taping and plastic everywhere, and lots of painting by hand.... I'm trying to leave the two strips of trim unpainted, so there are all those edges to paint carefully.
There were also quite a few things that needed to be removed from the ceiling before I could paint...
The first thing I did right away last year after we got the house -- there were about a thousand staples and pushpins and nails that needed to be removed from the walls and ceiling. The previous tenants had obviously papered every surface in here.
![]() | |
| Staples with tiny bits of paper... Everywhere. |
Then there were the letter stickers on the wall and ceiling. Brilliant gems such as "Jazzer Size," "Fun Wasp Life," "Oops I Pooped," and "Golly G." Actually, I think it's funny that I didn't take those off until now! I guess I just got used to seeing them.
And the last thing were these mirror circles, stuck on the slope of the wall. I didn't mind seeing them, and they actually reflected light from one of my lamps. But after prying them off the wall, I want to kill whoever put them up there! The adhesive has gotten SUPER sticky, and I'm pretty sure I've lost a layer of skin to the back of these things. And I sliced my index finger with my razor scraper when I was trying to pry off a circle. Not all of the glue came off the wall, but luckily the primer covered it up pretty well.
![]() |
| EVIL glue behind those mirrors! |
The priming went really well, though. I'm using a low-VOC oil-based primer, some that K had in the house already. It's sticking very well, and covering everything I hoped it would -- there were random paint and marks in quite a few places.
![]() |
And K's been working all evening on shelving in the basement storage room. She's re-using a bunch of the wood from the old work-bench. I can't wait to see how it turns out!
Sunday, April 14, 2013
Continuing on the Living Room Ceiling
Last weekend, we got going again on the living room ceiling. We started work on it back in September, with scraping the popcorn finish off, and then K adding one skimcoat to the ceiling and coves. But then in October we had our housewarming party and wanted to use the living room, so we took the ram board up off the floor and made it back into a usable room.
Through the winter, we added some salvaged chairs, put stuff on the bookcases, etc. Now all that needed to be moved out again in order to work on the room We decided to pull off the baseboards around the floors, since it's in bad shape-- too many layers of paint, and too many dents through all the years of use. It will make painting the walls and re-finishing the floor easier, too.
K added a new skimcoat to the ceiling and coves, and I went behind and knocked down the thick spots. Mudding is certainly NOT her favorite job, but now that the room is all messy again, we're planning to just keep plugging away until it's done.
Yesterday we worked on rebuilding the coves. We don't know if the popcorn finish was put on the ceiling originally or later. K thinks that the coves are probably a bit uneven like they are, because they put the popcorn finish on it right away and so the coves didn't need to be perfect. The coves are a bit thin in areas, and certainly aren't as sharp as we'd like them to be. And in knocking off the layer of popcorn finish, bits of the coves crumbled off, too, so they're pretty lumpy looking, and we definitely needed to build them back up to make them look sharp again.
Through the winter, we added some salvaged chairs, put stuff on the bookcases, etc. Now all that needed to be moved out again in order to work on the room We decided to pull off the baseboards around the floors, since it's in bad shape-- too many layers of paint, and too many dents through all the years of use. It will make painting the walls and re-finishing the floor easier, too.
![]() |
| K pulling off the base boards |
And look at what we found underneath the trim -- More pink paint!
Was this whole house pink at one time? That baby/cotton candy pink in the basement, and then this corally pink that's in the living room and the stairwell... Fun!
| Pink paint dripped underneath the trim... Old wall color! |
Yesterday we worked on rebuilding the coves. We don't know if the popcorn finish was put on the ceiling originally or later. K thinks that the coves are probably a bit uneven like they are, because they put the popcorn finish on it right away and so the coves didn't need to be perfect. The coves are a bit thin in areas, and certainly aren't as sharp as we'd like them to be. And in knocking off the layer of popcorn finish, bits of the coves crumbled off, too, so they're pretty lumpy looking, and we definitely needed to build them back up to make them look sharp again.
K added some thicker & stronger mud to just the coves to rebuild
them, and after sanding they're going to look really nice!
Labels:
April,
ceiling,
coves,
living room,
mudding,
pink walls
Saturday, September 29, 2012
Scraping Popcorn on a Saturday Night
This is what you do as a homeowner, I guess! Scrapin' popcorn ceiling on a Saturday night, while your friends are out at the bars.
We don't mind. We're hoping to get this ceiling finished before our housewarming party in October, but obviously we've got a lot of work ahead of us. We have these beautiful, simple coves on the ceiling, and they're going to be so pretty when they're smooth and repainted.
![]() | |
| Ceiling Coves |
Tonight, we covered the floors with ram board, opened the windows, cranked the tunes, and had a few beers, while spraying and scraping off the popcorn coating. Getting ourselves covered with gunk in the process...
![]() | |
| Romeo is supervising! |
We got almost all the scraping done, probably 5/8ths complete. K will also need to do a couple layers of skimcoat when we're done, plus sanding and painting.
Tuesday, June 12, 2012
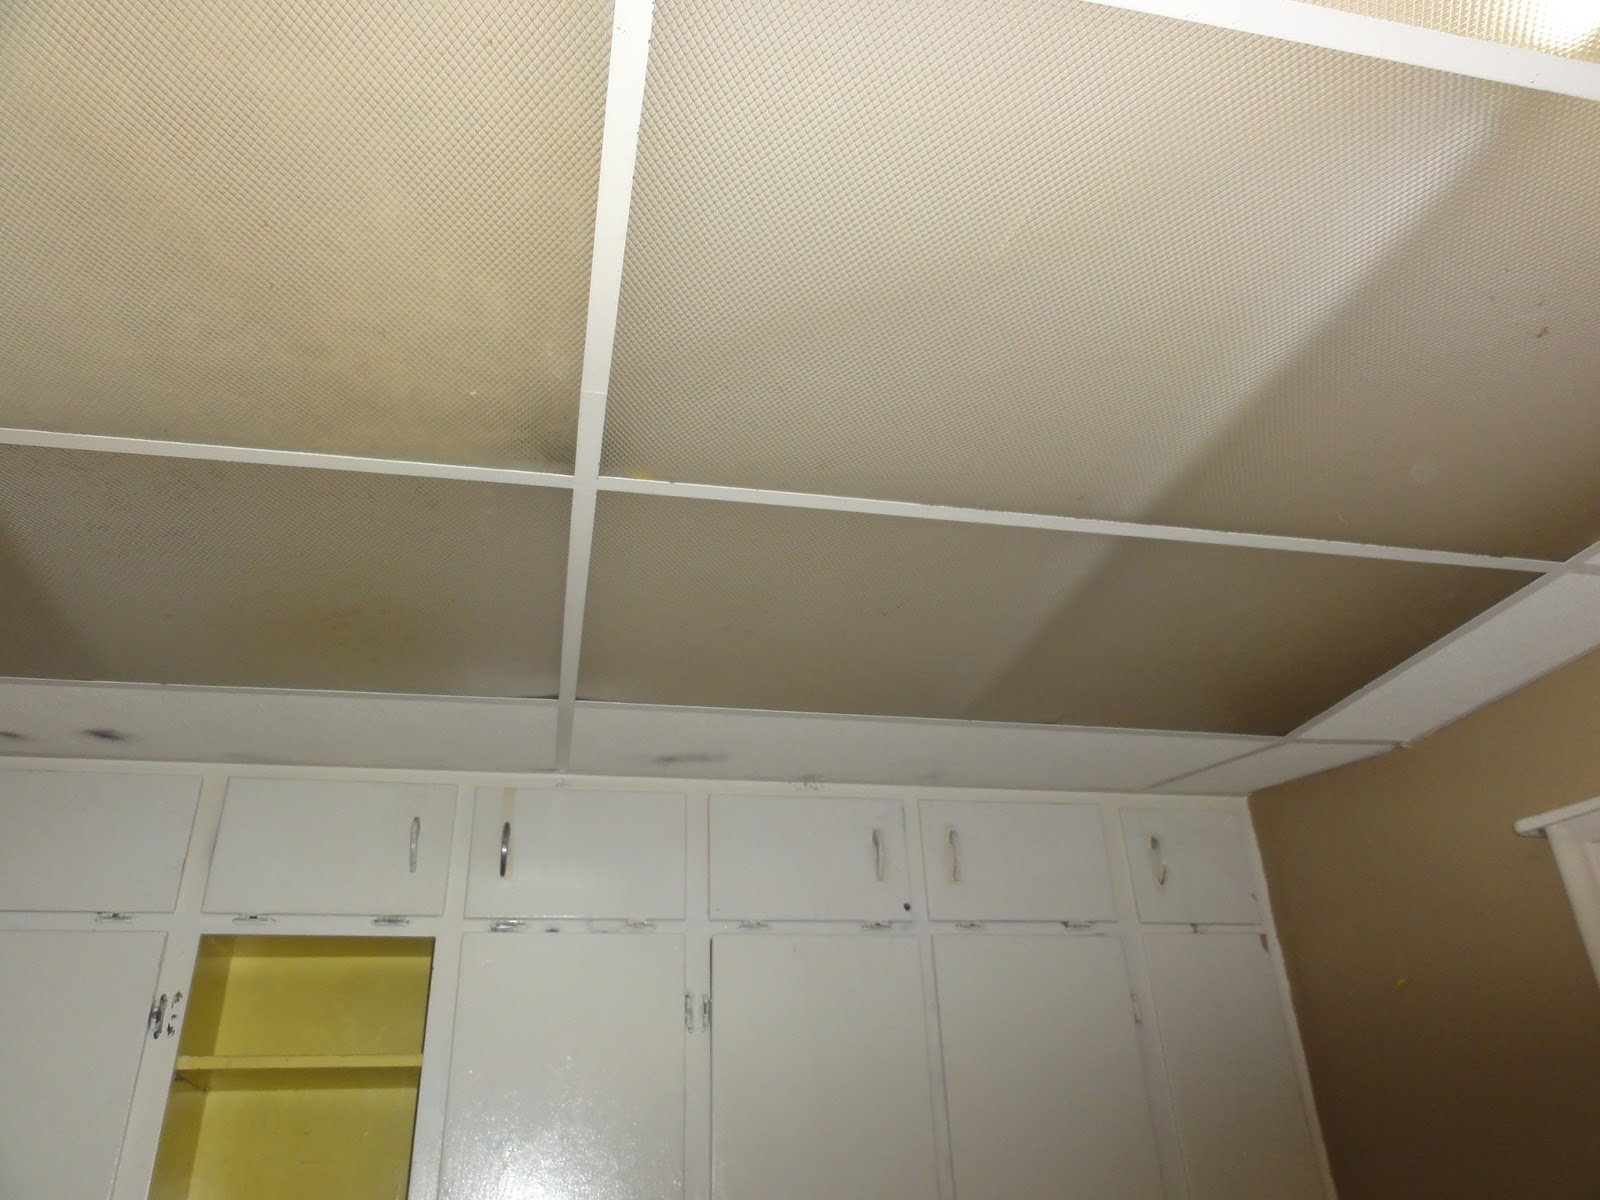
Kitchen Drop Ceiling
Our kitchen has an industrial-looking drop ceiling... I understand that this place was a rental for ages, and florescent tube lighting is energy-efficient. And judging by how many broken light fixtures there are in this house, it's possible that the kitchen lighting just didn't stand a chance. Not sure when this ceiling and lights was put up, but it doesn't appear to be original.
I started pulling the panels down pretty quickly after we moved in. And then today we pulled down the metal frames. The ceiling is a good 4 inches higher now, with patchy paint and small holes every few inches. The cool thing is that we can see a green paint near the top of the walls-- possibly the original paint in the kitchen? The color is really pretty! Very exciting, too, because I have been imagining doing green in the kitchen.
| Metal frame coming down... Popcorn ceiling in the kitchen, too. Green paint in the middle seems to be much older than all the other paint. |
![]() |
| Happy! Taking down the panels! |
Subscribe to:
Posts (Atom)